Thursday, April 18, 2024

Mystery Quilt so far on Free Motion Mavericks

Hi and welcome to week 578 of Free Motion Mavericks. I'm trying to catch up in my 2 Colour Mystery Quilt with Joanne of Canuck Quilter Designs. I keep trying to get caught up, but then every Thursday we get another clue....😉 

2 Colour Mystery Quilt


Today we'll be getting the Week 8 clue. Here is what I've done so far.


Week 1 was about cutting the fabric. Since that's my least favourite part of quilt making, I only cut what I have to, as I need them. So I actually started cutting Week 2, when I knew what I needed!

Week 1 - cutting for week 2
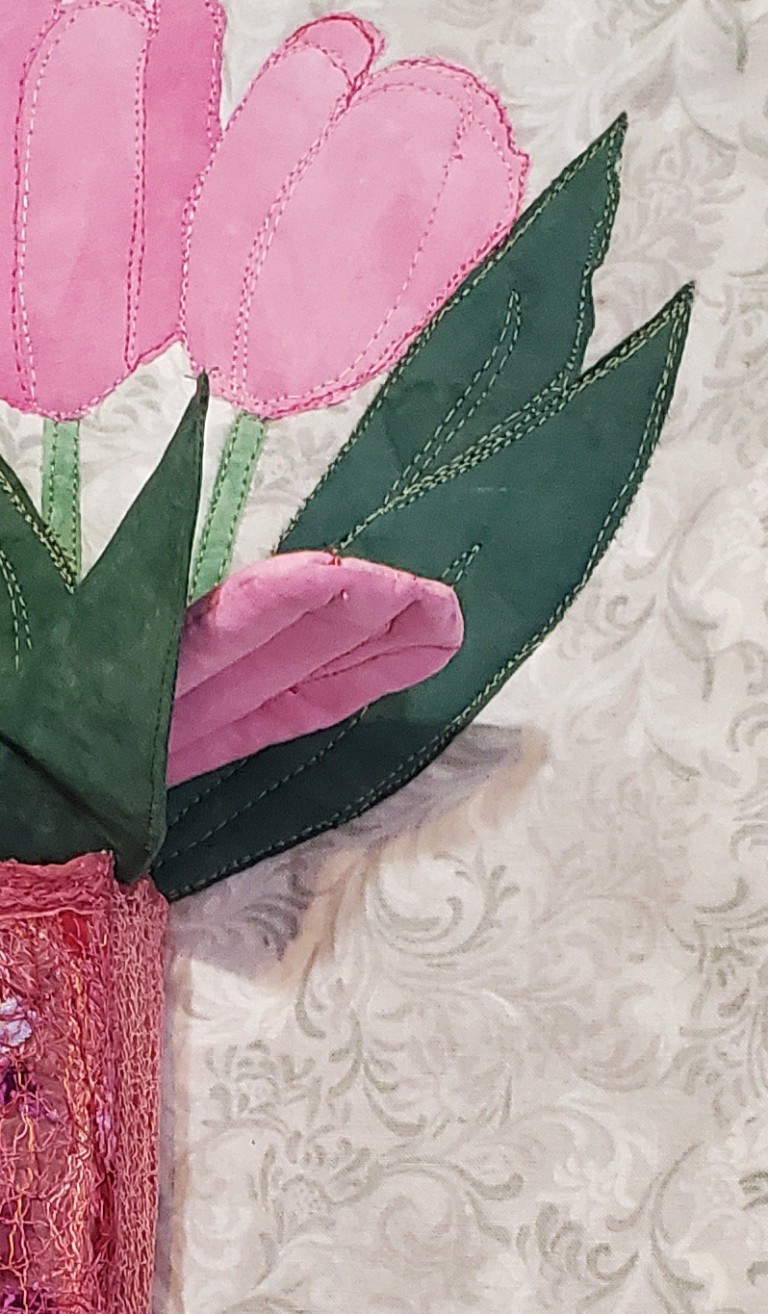
Week 2 blocks

I had quite the challenge putting the Week 2 blocks together but I did it! 😊

Week 3 was making a whole bunch of half-square triangles. That went better.

Week 3, large and small half-square triangles

In Week 4, I sewed some of the half-square triangles together. That's when things start getting a little bit wonky, but generally not too bad.

Week 4, making a block with some of the half-square triangles

Weeks 2 to 4 with a couple of Week 5 pieces

In Week 5, I used some of those extra half-square triangles to make these blocks. I also chain pieced some of these. It sewed up really well.

Chain piecing the flip and stitch pieces

Week 5 blocks

Week 5 blocks in the other colour

For Week 6, I've cut up most of my fabric and started putting them together. I have 2 blocks of each colour done - only 22 more to go!

Week 6 in first colour

Week 6 in second colour

These are my cut pieces for Week 6.
I haven't counted them yet 😃, I just kept cutting!
What I learned
  • I wasn't doing too badly until I started sewing the different parts together. That's when things tend to get pretty wonky!
  • I trimmed up what I could of my Week 4 half-square triangles, but only a couple were too large. Most of them of OK or at least an ⅛" too small. That means that things are going to get wonky quickly!
  • I'll be trimming the Week 5 and 6 blocks - I know that the Week 6 blocks are pretty wonky, so I'm going to be more careful when I make the 22 others (of each colour). Hopefully I'll figure it out before I'm done!
  • As you saw, I used chain piecing as much as I could. I hope that the accuracy is OK.
  • In Week 7, we start putting the different blocks together. It looks very cool 😎
  • I think that my best bet is to use a very scant ¼" to stitch things together.
  • If you haven't read it yet, for the first time ever I participated in the First Quarter Check-in with Yvonne of Quilting Jetgirl. I'm glad I did because I've been all over the place, so it was good to look at what I've done so far. Thanks Yvonne!

Related links
Linking parties
I'll be linking up to many fun linking parties. You may want to check them out, after you've linked up below! Put your foot down, Midweek Maker


Free Motion Mavericks


We've had a busy week! Thanks to everyone who linked up. Let's see what our quilters were up to!

Kat from Scrapbox Quilts linked up her very cute Dino Dinosaur quilt. She used a number of FMQ designs, from diamond crosshatch, stars, stippling to following the elements making up the dinosaurs blocks. If you want to see more, check out the picture of the back of the quilt on her blog post.

Kat's very cute Dino Dinosaur quilt

I saw this wonderful quilt on Frédérique's linking party and asked the author to link up 😊. It's a two-sided quilt made by the blogger of "des tulipes et des coeurs" (tulips and hearts). To read her post, you can use Google Translate which is located in the table of contents at the top right corner of the blog. 

She made this quilt for 18 month old Romy. She FMQ from the back of the quilt, after stitching-in-the-ditch the bands of colour and the name. Check out the post to see close-ups of the different FMQ designs that she used - it's worth it! 

The back of Romy's quilt by blogger "des tulipes et des coeurs"

The front of Romy's quilt - mostly Kaffe Fasset fabrics

Frédérique of Quilting Patchwork Appliqué finished her Jardin de corail (Coral Garden) quilt. It was made as part of a QAL and required 16 animals in the piece! She mostly quilted around each tropical fish that can be found in a lagoon. It really is wonderful. It was finished using the facing method so that it looks like they are in the lagoon, as opposed to an aquarium.

Frédérique's Jardin de corail (Coral Garden) quilt

Frédérique also made 2 stained glass mini quilts. Although she didn't quilt them, I want to share with you her poinsettia mini because it was attached to the backing and batting by using sequins and beads in the centre. How cool is that! 

Frédérique's Poinsettia stained glass mini quilt,
attached with sequins and beads!

It's now your turn!

You are invited to the Inlinkz link party!

Click here to enter

Monday, April 15, 2024

First Quarter Check-in

Hi, I was catching up on my blog reading when I found Yvonne's Quilting Jetgirl's First Quarter Check in party and post. It's been such a whirlwind of activity here that I thought that it would be nice to actually see what I said that I would do, and what actually happened so far! Thanks Yvonne!

January to March 2024


Quilts

In my Quilts section, I got distracted and chased a squirrel! I ended up not participating in this year's SAHRR (Stay At Home Round Robin) but instead signed up for Joanne's at Canuck Quilting Designs, 2 Colour Mystery Quilt. It's been a challenge because I'd forgotten how fiddly a traditional quilt can be! The mystery quilt started at the beginning of March. I followed along well for the first month but I'm a little behind at this time. I am getting there!

Weeks 1 to 5, with week 6 slowly happening! Only 1 week behind!

I did start on Hubby's wall quilt but didn't get very far. I'm hoping to get it done in June....but who knows. I ended up taking a class with Cyndi McChesney, one of the experts on quilting with panels!  It was a two-part workshop on Zoom with Cyndi who taught us how to make wonderful quilts with our panels. It helped me immensely since I really had no idea where I was going. Now I know what to do, it's just a matter of getting it done!

Wonky improv strips that will be the background

Layout of the final design

I did measure between each panel to see how wide each improv section of the background needs to be. I had to get at least that far since we needed the dining room table for Easter supper 😋.

Finally, I FMQ my girlfriend's quilt. I'm happy to say that she loved it! 😊It's a beautiful quilt and she did a great job!

FMQ my girlfriend's quilt

Challenges, Journal Making, Art Quilts and Mindful Stitching

The beginning of 2024 was extremely busy as I participated in 4 of the 6 challenges of Project Quilting. I actually started another one but never got it finished. 

Project Quilting 15.1 - Bird House Challenge 1 was my favourite make so far this year. It was even part of a small fibre show at a local restaurant, Chez Lucien, in the market in Ottawa.

Home to Feed - hanging at Chez Lucien

Project Quilting 15.2 - Sky Colour, Challenge 2 was a very practical make. I improv pieced and FMQ an agenda cover.

Sky Colours, my 2024 Quilting Agenda Cover

Project Quilting 15.3 - Inside Out, Challenge 3, was a smaller make. I made a meditation quilt piece and attached it into my journal. It was a lot of fun!

In a fish bowl, looking out!

Project Quilting - 15.6 - Irish Chain, Challenge 6 was more practical. I've always wanted to make an Irish Chain quilt, so this is my first one. It's a cuddle quilt that was donated to Community projects through my local guild. These lovely, tiny quilts go to the Intensive Care Neo-Natal or Post-Partum Units. I had a great time FMQ it!

Irish Chain Cuddle Quilt

My favourite year long challenge is Joyful's Table Scraps Challenge 2024. I've been participating for a few years now and love it. At the end of each month, I make a small scrappy piece. Scraps and colour - what's not to love!

For the March (purple) and January (green) Table Scraps Challenge, I made Hubby and Sarah some scrappy colourful improv placemats for the house.

Last year's and this year's scrappy improv placemats

For February, since I was away at the end of the month, I made a meditation piece for the Red challenge called Love All Around. It was perfect for making in the car and hotel.

Love All Around, February's Table Scraps Challenge

So far this year I've only made one hand-make Scrappy Journal. It was a Challenge and a lot of fun. Hubby liked it so I'll be making him a few.

Scrappy Journal Cover drying

Finished Scrappy Journal with Zig-zag stitch

In February I finished Swirling Leaves 3. It's for one of my daughter's friends who got married in the fall. Since she loves all things Fall, this was a perfect gift.

Swirling Leaves 3

I've been doing some mindful stitching - not on a daily basis, which is what I was hoping for, but rather in spirts. That's so much more my style.

My big stitching project this year is doing some mostly mindful stitching on a hand-woven tablecloth that I brought back from Istanbul many years ago. There are 16 boxes per row and I've stitched 3 rows so far. Here are a few images. I guess that I'll have to post an update soon.

Playing with colour, chain and running stitches

Celebrating my daughter's 30th birthday

Tablecloth - I now have 3 rows finished!

I also started my Outdoor Hanging Art Quilt. I started by making a meditation mini that I'm slowly using as the inspiration for my outdoor piece. You can read more about the inspiration here.

Inspiration for my Outdoor Hanging Sculpture


Dawn Sun

Noon Sun, still needs stitching and trimming

I've stopped working on these since I'm busy creating a piece for the Out of the Box (OOTB) Fibre Fling. I started at the beginning of April and it's my One Monthly Goal (OMG). 

Spring Tulips - still needs a few more tulips

What I learned
  • I'm really glad that I took the time to write this post. Like I said, I've been so busy making that it's good to step back and see what exactly that was!
  • I want to add that I also celebrated 12 years of blogging!
  • I'm probably as productive as I was but my energy is generally fairly low, so between making, I spend a LOT of time reading! That's what re-fuels me 😍
  • As you can see, the smaller projects are so much easier to work on than the larger ones.  It's not that their easier to do, just easier to pick up and work on, as opposed to projects that need thinking time.
  • As soon as I finish my Spring Tulips, I'll be focusing on my Outdoor Hanging Sculpture since that's due at the beginning of June. Although I haven't been working on it, I still think about it a lot and have figured out a few things....I hope. I won't really know till I try it!
  • I'm also looking forward to having a little bit of energy to play in the garden. Spring is when my favourite bulbs come out! With the rain this week, my Allium are getting big and will soon be blooming!
My favourite - I wasn't sure that they would be coming out!

Pretty pink spring bulbs

Poppy in the garden, ready to chase
squirrels, birds and bugs!
Linking parties
I'll be linking to Quilting JetGirl's linking party as well as many other ones. Let's see what others are doing! Design Wall Monday, Patchwork & QuiltsSew & Tell, Put your foot down,


This post is based on my January 04, 2024, Making Plans on my 600th post!

Thursday, April 11, 2024

Spring Tulips is coming along on Free Motion Mavericks

Hi and welcome. Spring is finally here after our last snow storm. The snow really encouraged the Spring bulbs to appear! What a wonderful sight! I've been appliquéing, quilting and making my 3D Spring Tulips piece. There sure is lots of learning going on here!😊

Spring Tulips - the background quilt


Although I was itching to start playing with the 3D part of this piece - I had to start with the background, which was to make quilted tulips. I make a sketch of some of the tulips because I find it hard to place tulips in front of each other (or anything else for that matter). 

My first sketch - at least they look like tulips😁

Second sketch simplified to make templates

Tulips modeling for the sketch!

Tulip templates

I didn't take any process pictures but I cut my hand-dyed pink fabric roughly based on the templates and then appliquéd them to my gray background fabric. I cut the leaves from dark green hand-dyed fabric.

Appliquéd tulips with a rough pattern of the vase

Free Motion Quilting (FMQ) the tulips and leaves


I FMQ the tulips and leaves before attaching the vase to the background. The vase in this picture is attached with pins and is too narrow. That's why I decided to add side panels to it.

Trying out the vase before FMQ the tulips and leaves

To make the vase, I used a piece of hand-dyed organza as the base, added some Solvy water soluble stabilizer, snippets of fabric and organza, some thread and finally a second layer of Solvy. The organza gives it a lovely translucent quality.

Vase made from organza, Solvy water soluble stabilizer,
thread and snippets

The vase wasn't quite wide enough to get the depth that I wanted, so I stitched up a side panel and then cut it in two vertically to apply to each side of the vase. While I was making the side panel, I seemed to be playing chicken - to see which of my thread, bobbin or spool, would run out first. The bobbin ran out first😉

Side panel with thread used

Side panels cut

Before attaching the vase, I FMQ the tulips in the background. 

FMQ tulips and vase attached to background

At this point, I've attached the sides of the vase to the background, but not the bottom. I'm hoping to make it straight but also tapered. That will be one of the last things that I'll do after making the tulips and FMQ the whole background.

Making Fabric Tulips


I've been experimenting with making tulips with fabric. The first one was a bust, but I had to make it to figure out what I wanted or didn't want. It was just a flat but quilted version of the background tulips. Nice try but not round enough.

First tulip - too flat!

I then made 3 thread tulip petals the same way that I made the vase. Much better 😊. I used a flat tulip as the centre and sewed it together to make it cylindrical. After that I attached the 3 thread petals by hand-stitching them around the centre. Once that's done, it's a matter of attaching the tulip to the stem and then add the leaf.

Second tulip - much better

Close-up of the second tulip
Here is a photo of the tulip making operation. It's very fiddly and time-consuming but I love the results 😍 The petal below is different from the thread petals above because I used the same pink hand-dyed fabric as a background, instead of the pink organza. The longest part of making the tulip is inverting the stems and then stuffing them with batting. The leaves are easy to sew together and invert. It's just a matter of making them wide enough so that they go around the stem.

Tools and process for making the fabric tulips

I did Google how to make fabric tulips. It's not really the look that I wanted but I have used the idea of the stem and the leaf from the tutorial. If you're interested in making easier fabric tulips, you may want to check out the tutorial in the Related links section.

What I learned
  • I learned that with a little bit of practice and patience, I can draw a rough sketch of tulips. When you only want an idea of it as opposed to a great picture, sketching is doable.
  • A photo is useful, but sketching makes you think about what comes first (in front vs. behind) and the shapes.
  • Printing a bigger version of the second sketch helped me make those templates.
  • For the first tulip that I created for the background, I cut up each individual pieces of the tulip. It was difficult to remember where to add an allowance so that pieces would overlap, and it didn't turn out any better than just cutting out the whole shape and FMQ the details. Thank goodness!
  • As always, I enjoyed FMQ the tulips, the stems and leaves onto the background. I'll have to finish FMQ the rest of the background when this is mostly finished.
  • I don't know if or how I should finish the vase - should I place a table under it or just make the piece end at the bottom of the vase? I know that a vase shouldn't just float in the background...but I'm not use how to handle that. Any suggestions would be appreciated.
  • I really enjoyed using the pink organza as a background to the Solvy water soluble stabilizer. It gave it stability and make it translucent instead of partially transparent. I don't really want the stems and leaves to show up too much through the vase. I may have to stuff it a little to get some depth.
  • I'll be making a batch of petals with the pink hand-dyed fabric since I don't really want to tulips to look too much like the vase. I'm not sure if that will make a difference but I'll know after I've finished one.
  • I also need to remember that the thread could be visible on both sides, so I'll have to use darker thread (I used very pale pink thread in the bobbin and it looks white ).
  • I was using a production line for making the stems - they are such a pain, but I am slowly getting the hang of it. 
  • Little bits of batting is great for stuffing the stems, so I'm glad that I kept some.
  • For the first time, I sewed my batting pieces together with a zig-zag stitch instead of using the iron-on tape. It worked really well and is less expensive.
  • Spring Tulips is my April One Monthly Goal (OMG). It's for Fibre Fling 2024.
  • In Related links, I'm including 2 links for making different types of fabric tulips, in case you're interested.
Related links
  • March Table Scraps Challenge finish and April's OMG, March 30, 2024
  • How to Make Fabric Tulips | a Shabby Fabrics Craft, YouTube
  • DIY Fabric tulips, YouTube
Linking parties
I'll be linking up to many fun linking parties. Why not check some out, after you've linked up below? Midweek MakersPut your foot down, Needle & Thread ThursdayOff The Wall Friday, Finished (Or Not) Friday, Patchwork & Quilts15 Minutes to Stitch 2024, Oh Scrap!, Slow Sunday Stitching,  


Free Motion Mavericks


Welcome to week 577 of Free Motion Mavericks. 

Last week Deb from A Scrappy Quilter was quilting the first of two charity quilts for her guild.

Deb quilted one of two charity quilts

Frédérique, of Quilting Patchwork Appliqué is FMQ her Jardin de Corail (Coral Garden). It's really coming along 😍

Frédérique is FMQ her Jardin de Corail (Coral Garden).

It's now your turn!

You are invited to the Inlinkz link party!

Click here to enter